Basic Operations
Basic Operations
This page is pending English translation.
Refractive-Index Fitting How-To
This guide covers common preparation steps before running a refractive-index fit. You will learn how to reuse saved configurations and how to set the measurement environment correctly.
How to reuse previous index configurations
Refractive-index fitting requires many initial parameters (substrate, optimizer settings, bounds, etc.). If you have a previously saved configuration that worked, import it to avoid re-setting everything.
Before starting a new fit, we strongly recommend downloading the closest preset template and then fine-tuning it. This can save up to ~80% of setup time.
Download a saved configuration
- Open the right-side drawer by hovering near the right edge of the interface.
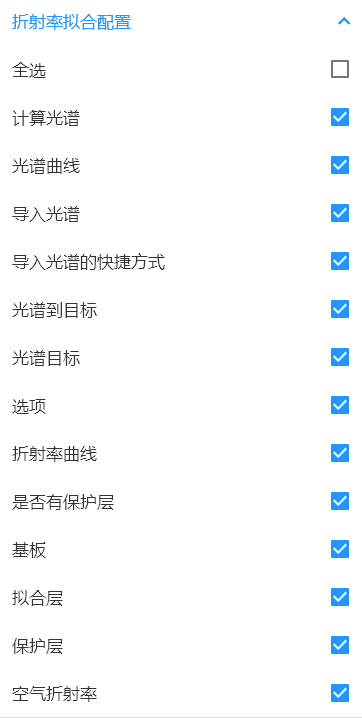
- Select the "Refractive Index Fit Config" entry and click Download Config.
- Choose the most appropriate record from the database list and click OK to load all parameters into the module.
Save the current settings as a new template
- In the right-side drawer click Upload Config.
- In the dialog you can either Overwrite an existing record or Create New (give it a name).
- Close the dialog to return to the main screen.
How to set the measurement environment (air refractive index)
Before importing transmittance/reflectance spectra, the system must know the measurement medium (typically air). If the environment is not defined, boundary conditions will be wrong and fits will fail.
Steps:
- Open the right-side drawer.
- Select Air Refractive Index and click Download Air Index.
- Choose the standard air value (≈ 1.0) and click OK.
How to choose the correct material entry
The refractive-index fitting module now uses two explicit material import entries:
- Import tabulated material
- Import model material
Use the correct entry based on what you want to preserve.
When to import a tabulated material
Choose the tabulated-material entry when:
- You want to load wavelength-point
n/kdata into the refractive-index table. - You want the current layer to calculate directly from the table.
- You do not want to rebuild the model parameter UI.
When to import a model material
Choose the model-material entry when:
- You want to load a dispersion model into the layer.
- You want to preserve model type and coefficients.
- You expect the model parameter editor to rebuild to match the imported model.
How to save the current layer as material
There are two common save paths:
- Save from the refractive-index table editor
- Save from the model parameter editor
Save from the refractive-index table editor
Use this when the current layer should become a tabulated material.
Steps:
- Open the refractive-index table editor.
- Confirm the wavelength-point data.
- Click the upload button.
- Save to
Coating Material.
Save from the model parameter editor
Use this when the current layer should become a model material.
Steps:
- Open the model parameter editor.
- Confirm model type and coefficients.
- Click the upload button.
- Save to
Coating Material.
Practical rule
If your next step is to continue editing model coefficients, save a model material.
If your next step is to reuse a wavelength table directly, save a tabulated material.
If you are unsure, check the quick decision page first:
Related references
- Floating window operations: Floating Window
- Spectrum calculation: Calculate_Spectrum
- Importing spectra: Load_Spectrum
- Material decision guide: Material Selection Cheat Sheet
- Coating material library: Coating Material
- Refractive-index dictionary: refractive-index
- Fitting strategies: fit