Example:Index-fitting for material without protect layer
Tutorial: Refractive-Index Fit for a Single Transparent Layer (No Protective Layer)
This is a step-by-step practical tutorial. Follow each numbered step carefully.
Goal: Recover the refractive index and physical thickness of a single transparent film (e.g. SiNx) from a measured spectrum.
Step 1 — Start the module and load a template
Open the refractive-index fitting module (see Quick Start) and create a new fitting tab. Instead of setting every parameter manually, load a saved template:
- Open the right-side global action drawer.
- Click Download Refractive Index Fit Config.
- Choose the record
s001or a template entry and click OK to load base constants (air index, substrate index, etc.).
Step 2 — Load measured spectrum
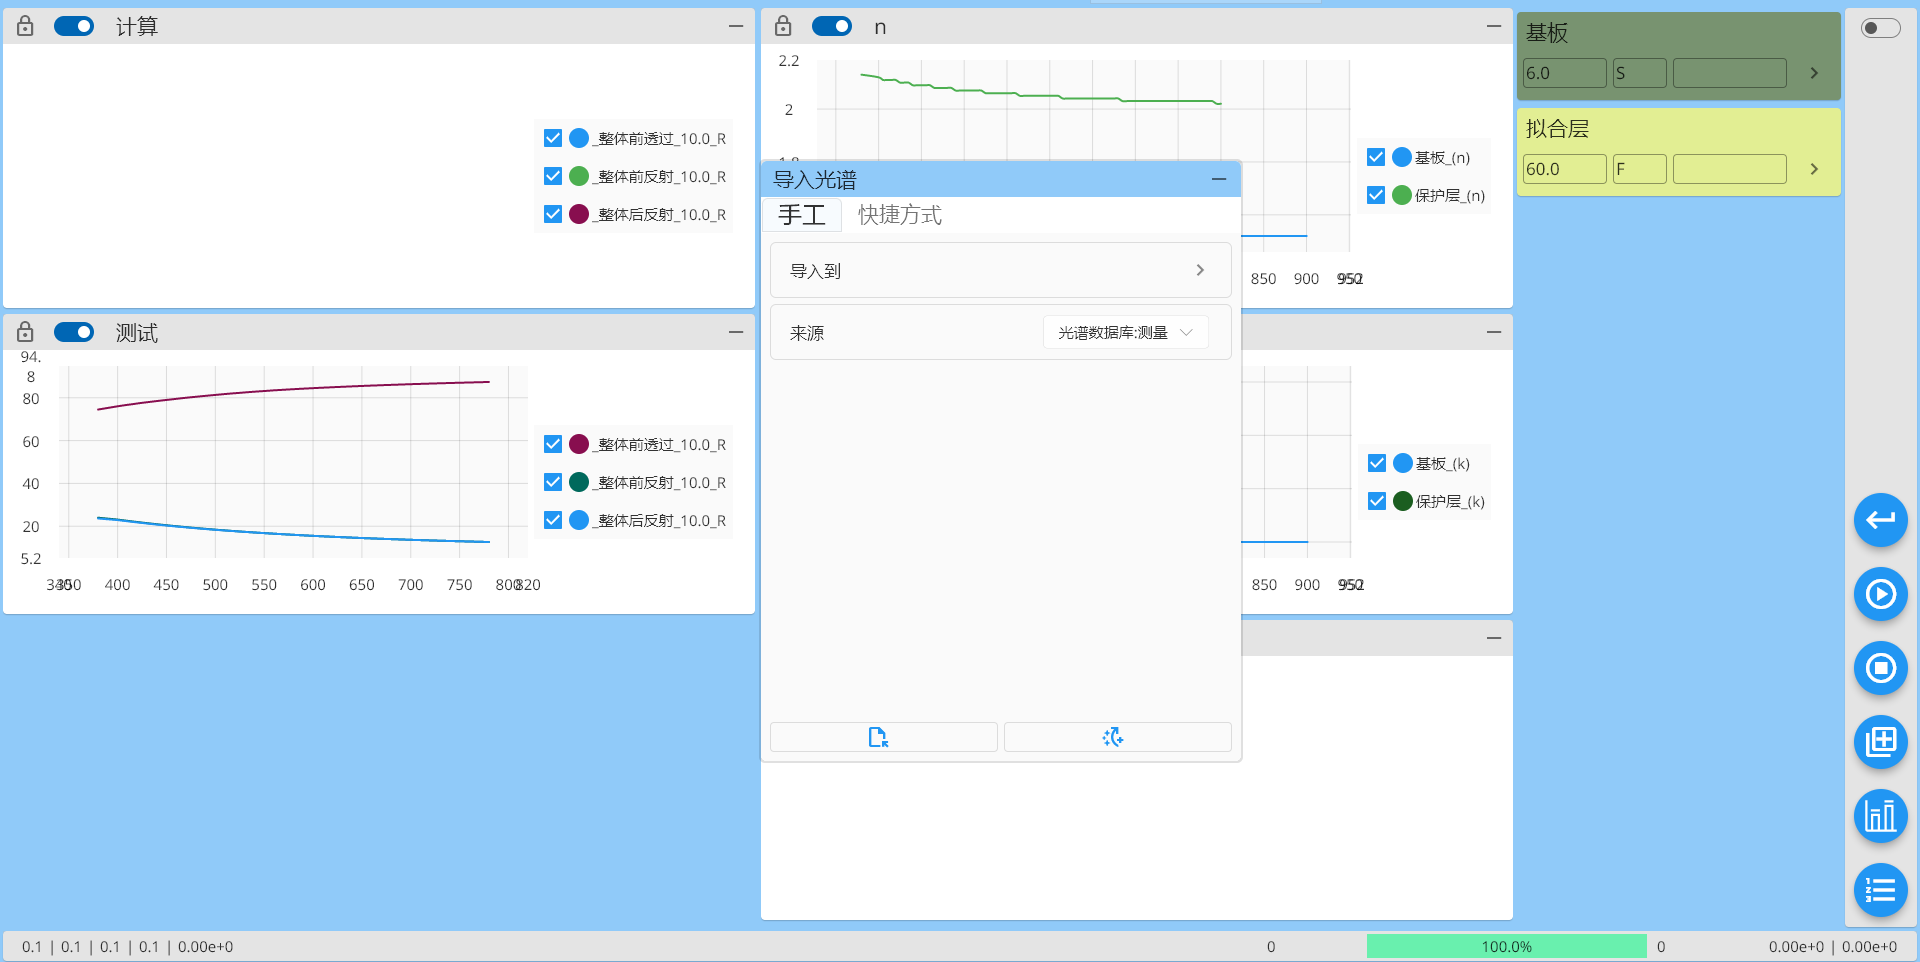
- In the right-side drawer click Import Spectrum (usually the 4th icon).
- Switch to the Manual tab in the import dialog.
- Set Import To (select relevant spectrum types) and Source → Spectrum Database: Measurement.
- Click Import Spectrum to open the database browser.
- For this example, select glass ID
500100and target coordinate150, then click OK.
The measured curve should now appear on the main chart.
Step 3 — Create a spectrum target
- In the right-side drawer open Spectrum Target and click Generate Spectrum Target.
- Ensure Use Spectrum is checked and add the imported spectrum using the
+menu. - Keep defaults and click the large
+to generate the target queue. - Click OK to save and apply the target.
注意
Make sure the final "Use" checkbox for the target row is checked; otherwise the target will be ignored.
Step 4 — Set model and parameter ranges
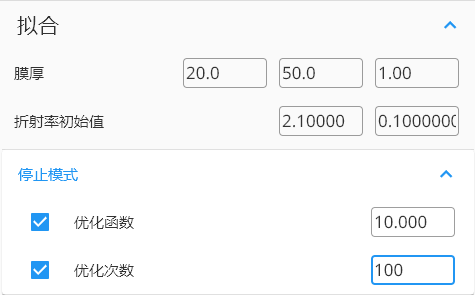
- Set No protective layer mode (protective-layer toggle should be inactive).
- Define thickness search range: start
20nm, end50nm, step1nm. - Provide an initial guess for n (e.g.
2.1) and an offset (0.1). - Define stop criteria: merit threshold MF =
10, max attempts =100. - Select the
Filmstarsolver for this basic single-layer fit.
Step 5 — Run and apply results
- Click the Optimize (Play) button to start fitting.
- Track optimization progress in the dynamic panel.
- When finished, open Fit Results (History) and click Load for the latest entry.
- The fitted layer table will show computed thickness (e.g.
21 nm).
提示
To share results, use the right-arrow on the fitted layer to open the details table, then upload to the database or copy to Excel via right-click.